
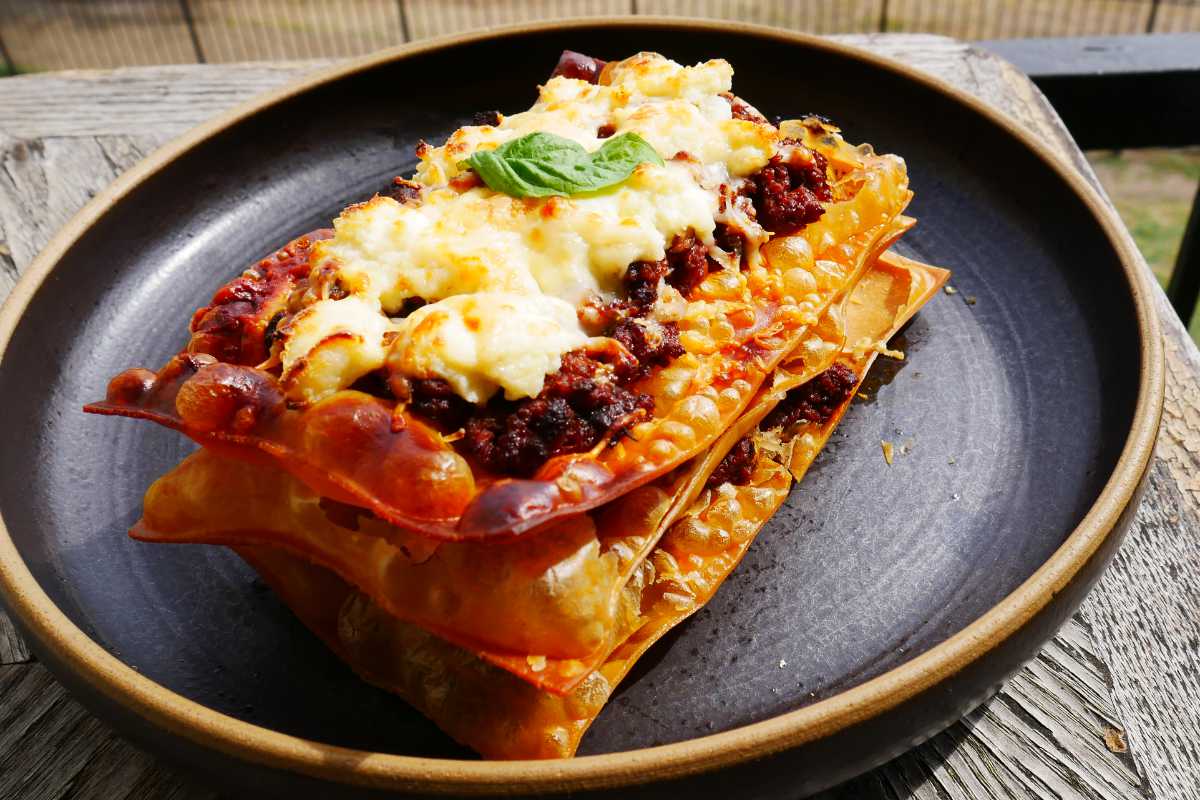
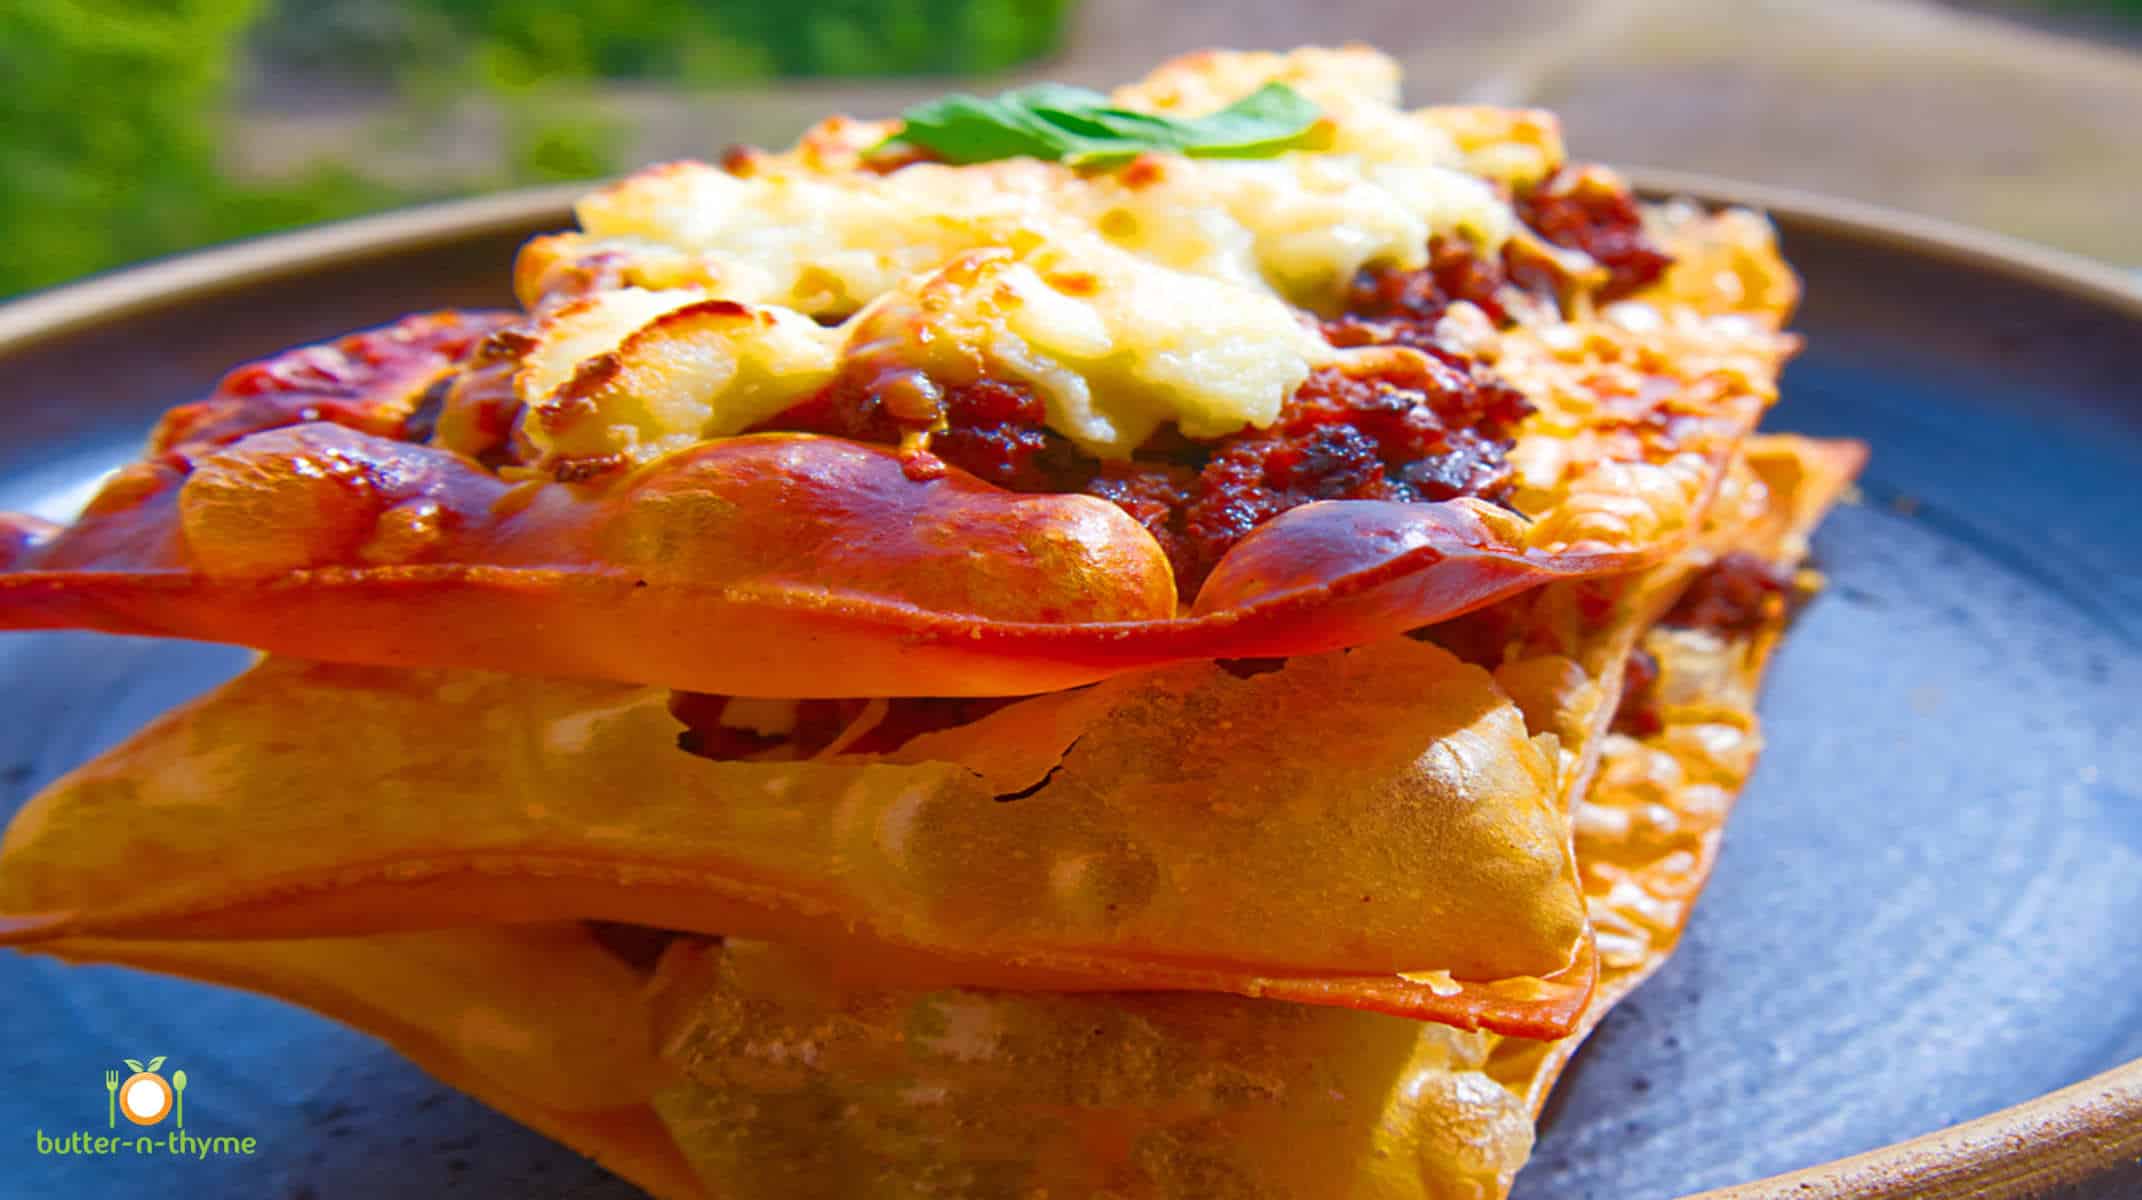
One of the best special dinner plans ever, fried lasagna. Many people have never experienced crispy lasagna.
Imagine crispy sheets of pasta fried to crispy golden brown delicious, only to be met with our Bolognese sauce that takes the recipe over the top.
⬇️ Table of Contents
❓What Is Crispy Fried Lasagna?
Crispy Lasagna is a dish of stacked fried pasta sheets, usually with a meat sauce and cheese filling. The term lasagna is also used to refer to the wide, flat noodles used in the dish.
How To Make Crispy Lasagna
- The first ingredient needed is "fresh" pasta sheets sold in the refrigerated grocery store (do not use dry pasta for this recipe). The second option is making the fresh pasta yourself. Below, you'll find a tutorial on making fresh pasta.
- The Sauce: Our recipe uses the best Texas Bolognese sauce on the planet with a vegetarian option as well)
- The Cheese: Our recipe uses two kinds of cheese. The first cheese is fresh Ricotta cheese. Store-bought works great; I'll show you how to make it homemade below. The second cheese is a finishing cheese spread over the top before the oven. I used asiago cheese.

Second, we need a sauce with deep southwestern flavors. The Texas Bolognese uses flavors from the American Southwest and is the perfect level of spice without the spiciness of spicy hot heat.
Living in Texas helps familiarize us with the wide range of spices and peppers that are not only delicious but can also give your cooking an extra creative boost. I'll show you how to pick just about any type without burning your taste buds and what kinds might be the hottest.
Which Pasta For Crispy Lasagna?
- Purchase Fresh Pasta: Most grocery stores carry fresh pasta in the refrigerator section. Look for the fresh pasta sheets. Another option would be to use wonton wrappers.
- Make Homemade Pasta

Learning to make pasta from scratch is an art form, and the best way of doing it without mess or fuss is by using your food processor.
Ingredients For Fresh Pasta
- Whole Wheat Flour: 1 cup - Adds a robust and hearty flavor, perfect for a more textured pasta.
- All-Purpose Flour: 1 cup - Provides a smooth, versatile base for the pasta, ensuring a classic texture.
- Extra Large Eggs: 4 - The key to rich and tender pasta, lending moisture and structure.
- Olive Oil: 1 tablespoon - A touch of olive oil enhances the pasta's elasticity and imparts a subtle, fruity undertone.
- Sea Salt: 1 ½ teaspoons - Sea salt not only seasons the pasta but also helps to strengthen the gluten network for the perfect bite.

🍝 How To Make Fresh Pasta
- Add all the flour, plus one and a half teaspoons of salt (or to taste), into your food processor. Pulse or blend for about 10 seconds until there are no lumps in sight!
- Adding olive oil will make your pasta taste better and is an important ingredient in creating a crispy crust. Start with 1 tablespoon and add more as needed.
- Turn on the machine and add the eggs one at a time. The dough will come together into a ball.
- Next, knead the dough on a tabletop for about 10 minutes or until it becomes elastic and smooth.
- Be mindful to work quickly, as you do not want the dough to dry out.
- Once the pasta is elastic, meaning the dough is very smooth, wrap it in plastic wrap and place it in the refrigerator for 15-20 minutes. This is the resting process and is very important. This will allow the gluten to relax before rolling it out for the crispy lasagna.
- Shape the pasta before the refrigerator. Think about the size of the pasta roller machine's opening, and then mold the pasta into a flat disk that will fit into the machine's opening.
Use a pasta roller machine or the KitchenAid pasta attachment. First, roll over the pasta a few times to soften it before running it through the pasta machine using a rolling pin.
Steps To Making Fresh Pasta
The key is allowing the fresh pasta to air dry to remove extra moisture before frying. The pasta surface should feel smooth and dry when ready. Pasta air-drys fast. In this case, it takes 2 to 4 hours if rolled thin enough.
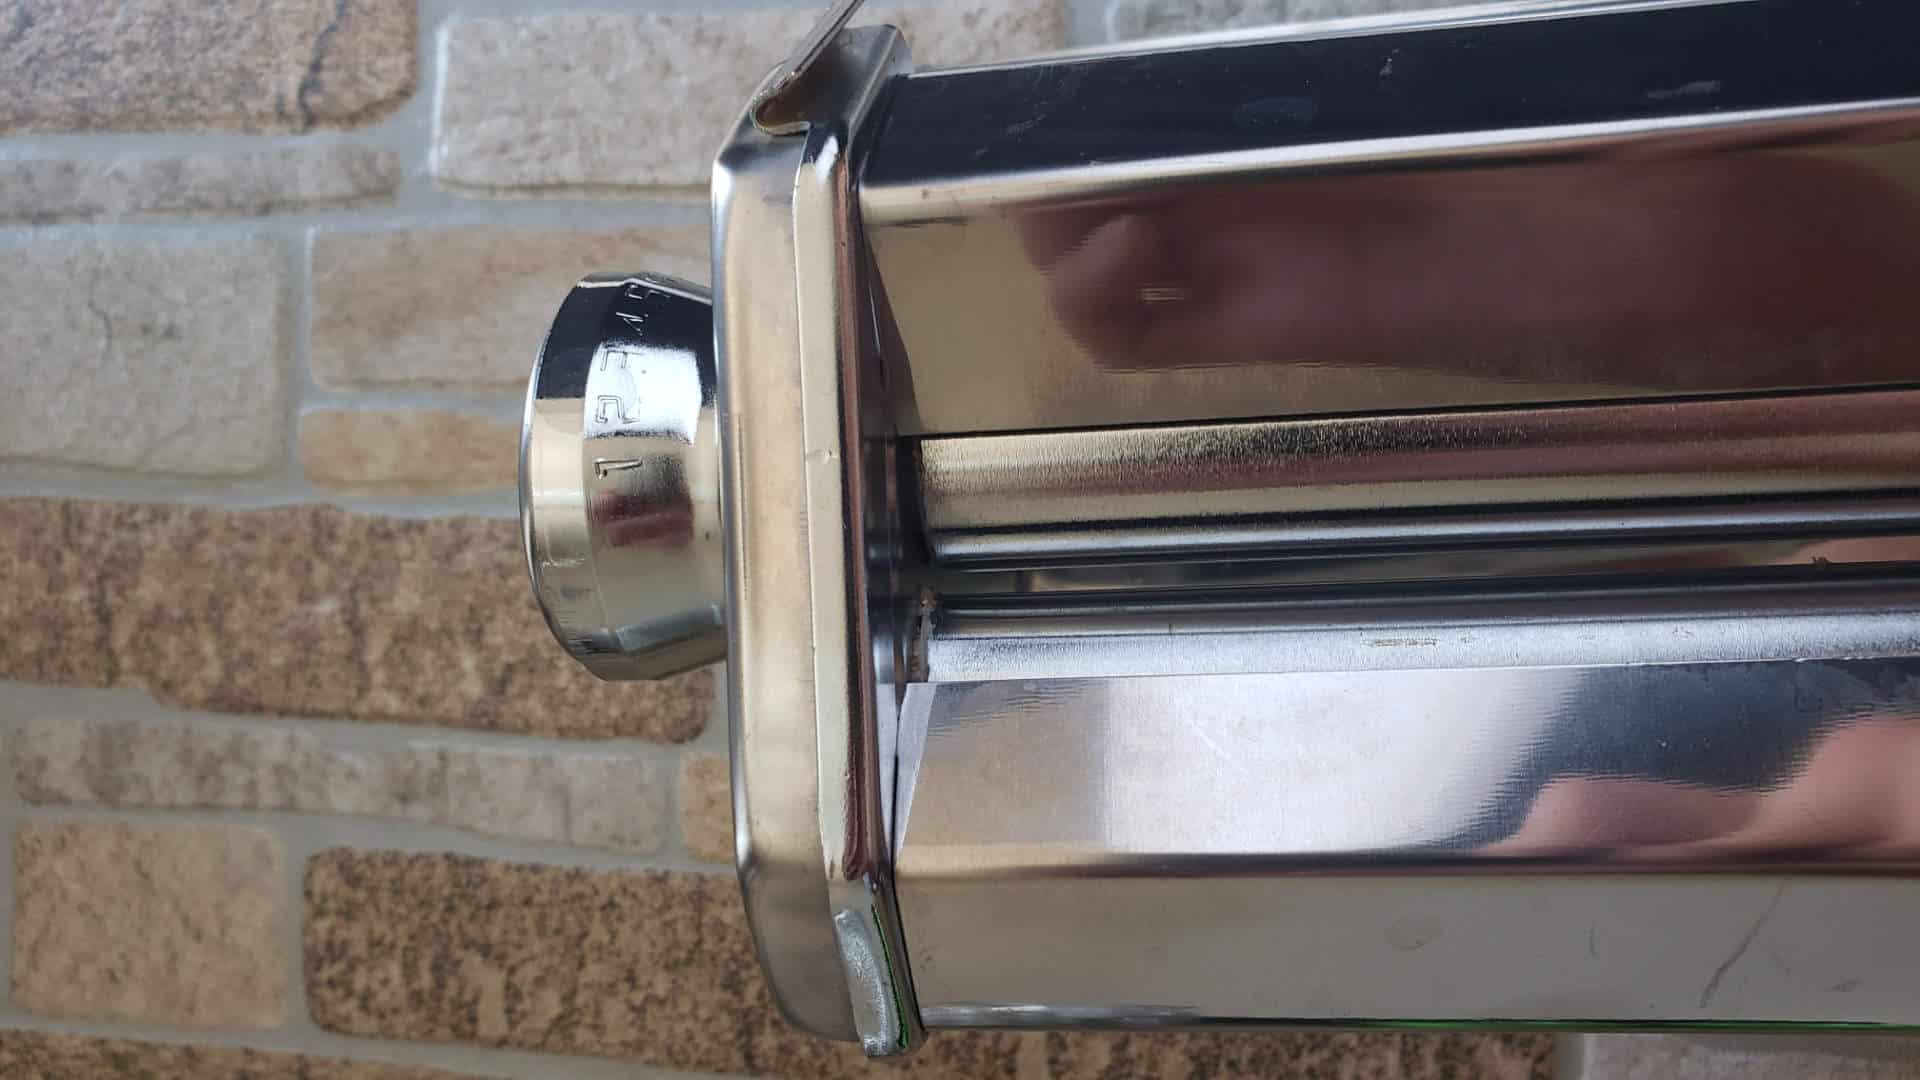
- Start on number 1 of the pasta machine. The lower the number, the thicker the pasta sheet will be. You must start on the lowest number and work up to the desired thickness. Start on number 1.
- After running the pasta through the first time, fold the pasta sheet back over on top of itself. You want the sheets to be the width of the pasta machine opening once you are done rolling the sheets out.
- Work up to pasta machine thickness number 5 for crispy lasagna.
Place the sheets on parchment paper, sprinkle fresh flour on both sides to avoid sticking, and cover with a kitchen towel so they do not dry out.
Frying The Fresh Pasta

Did you know fresh pasta sheets puff up when cooked in hot oil?
- Heat Canola oil to 330 degrees
- Test fry a small piece of pasta until crispy. This will help you decide if the oil is hot enough.
- Frying the pasta sheet until most of the bubbles calm down-about 90 seconds.
It is essential to think about the way you want the dish to look on the plate. Get one of your serving plates out and place it before you. Then, lay one of the fresh pasta sheets on the plate.
Make your mind up on how big or small it needs to be to fit correctly. Then, make your cuts to the pasta sheets. Try to make each pasta sheet the same size.
You can use store-bought fresh pasta sheets.

Making Texas Bolognese Sauce
The sauce is rich in flavors loved by Texans. The use of peppers and chiles is our magic touch. Our recipe isn't spicy. The reason why it isn't spicy is the way we treat the peppers and chiles before cooking. It tames down the spice level.
The recipe calls for ground beef and mushrooms to create a deep depth of flavor at the base. Texa Bolognese goes so well with many other recipes. Talk about a weeknight pasta dish no one will ever forget.
There is a vegetarian option, too.

🧀 How To Make Ricotta Cheese
Making cheese is fun and cost-effective. Our ricotta cheese recipe calls for four ingredients and about 1 hour of your time. #easyricotta
My mother is a big fan of our fresh ricotta cheese. The recipe and instructions can be found on the recipe card and the links below.

📖 Recipe

Crispy Lasagna - Complete Guide
Suggested Equipment
Ingredients
Ingredients To Make Crispy Lasagna
- 18 pieces Pasta Sheets Make Homemade, or buy at grocery store
- 24 oz Canola Oil / or Peanut Oil
- ½ cup Asiago Cheese Topping Cheese / Use what you enjoy, another option, Parmesan Cheese.
Bolognese & Ricotta Cheese Recipes Links
- 3 cups Texas Bolognese Sauce < Visit Recipe Link
- 16 oz Ricotta Cheese < Visit Recipe Link
Texas Bolognese Sauce
- 1 pound Ground Beef
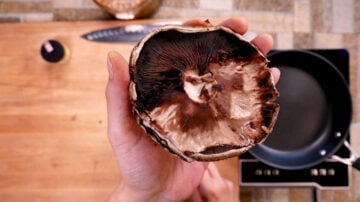
- 1 cap Portobello Mushroom
- 12 caps Cremini Mushrooms
- 1 tablespoon High-Quality Butter
- 1 medium Vidalia Onion Mirepoix onion, carrot, celery
- 1 stalk Celery Mirepoix onion, carrot, celery
- 1 large Carrot Mirepoix onion, carrot, celery
- ½ cup Red Wine
- 5 tablespoon Tomato Paste
- ½ teaspoon Dried Thyme
- 1 can Tomatoes / I like using whole tomatoes and breaking them up myself
The Peppers
- 1 Jalapeno Pepper
- 1 Serrano Pepper
- 1 Dried Ancho Chile
- 1 Guajilo Pepper
- 3 tips Thai Chilies / cut in half lengthwise
- ½ Habanero Pepper / cut in half lengthwise - no rib or seed
- 1 Red Bell Pepper
Homemade Ricotta Cheese
- 8 cups Whole Milk Low-Fat milk will not work.
- 2 cups Heavy Cream Half & Half - substitute option
- 6 Tablespoons Lemon Juice Juice of 2 lemons
- 2 teaspoon Kosher Salt
Fresh Homemade Pasta
- 2 cups Whole Wheat Flour
- 1 cup All-Purpose Flour
- 4 extra large Eggs
- 1 whole Egg Yolk
- 1 teaspoon Sea Salt
Instructions
Home To Make Crispy Lasagna
- Quick Method1) Making the Texas Bolognese sauce2) Buying the Fresh Pasta Sheets at the grocery store3) Buying fresh ricotta cheese
- Step #1 Shaping The PastaShaping the pasta into rectangles to fit the plate. Place a pasta sheet over a plate and measure the size you would like the pasta. Make a small indention, then move the pasta sheet to a cutting board to make all of the needed cuts to all pasta sheets.Store the pasta sheets once cut on a plate with a damp paper towel or dishcloth. This makes sure the pasta sheets do not dry out.

- Step #2 Frying The Pasta SheetsPrepare the frying oil. Using a large pot with a lid, fill the pot with oil. Use only enough oil to add one piece of pasta sheet at a time. About 3 inches of oil.Time to fry once the oil reaches 350 degrees. I suggest test frying a small piece to make sure the frying oil is just right. Not too hot, not too cold. You will want the test piece to be golden brown and crispy.Place one sheet into the hot oil using kitchen tongs, and hold/press the pasta sheet underneath the oil line, complete immersing. The oil will bubble up controllably. Once the bubbles calm down, I know that my pasta is done cooking and can be taken out of heat safely.I cook for an additional 30 seconds from this point for max crispiness!
- Building The Crispy LasagnaUse 3 pasta sheets per plate. Start with one piece in the center of the plate, then add some of the Texas Bolognese sauce on top. Add pieces of fresh ricotta cheese all around the pasta sheet. Build up 3 layers and finish with Asiago cheese. Another option would be Parmesan cheese.Links to both the ricotta and bolognese sauce recipes are listed in the main article above.


How To Make Texas Bolognese Sauce
- This sauce only gets better in the refrigerator, I like making the sauce a few days in advance.
Preparing The Mushrooms
- Rinse/wash the mushroom off under cold water. Do this quickly, as mushrooms will absorb some water. Using a spoon, clean off the spores from underneath the mushrooms. If not, you'll impart a more earthly flavor profile most will not enjoy. Almost a dirty flavor. Remove the spores.Next, chop the mushrooms into small sizes. We will be saluting them and need the mushrooms the same size for even cooking time and appearance. No big chunks.Option: If preparing the vegetarian version, leaving some large pieces might be a nice touch for additional texture. Be sure to double the number of mushrooms to use that amounts to what you like. I would suggest mixing in a few different types of mushrooms. Idea: Try using some dried mushrooms. Place them into warm water to soften. But sure to add some of the liquid to add a big flavor. I suggest tasting the dried mushroom liquid before adding it to ensure you think it will work with the recipe.Add butter to a large skillet over medium heat, then add the mushrooms. But only add half of them at this point. Add a small pinch of salt and dried thyme at this time. Cook until they have shrunk in size and caramelized, then add the second half and cook them alongside the cooked mushrooms. Ensuring the mushrooms get caramelized for maximum flavor. Otherwise, there would be too many mushrooms.

- Making Bolognese Sauce
- Set up your food processor close to a cutting board.Chop the onion, carrot, celery, jalapeno, serrano, guajillo, habanero, Thai chile, ancho, and bell pepper into a size that helps the food processor do its job. Do not add large chunks to a food processor or risk uneven blending. I used half of each pepper, which was great but not hot. If you watch the video, you can see how I cut the peppers, i.e., how much I used precisely. Add each ingredient one at a time to the food processor until everything is smooth/purred.Next, add the "base" to the cooked mushrooms and reduce the liquid. We want to cook off some of the liquid and tighten the sauce up a bit.Now add in the ground beef. Add salt and pepper and cook the beef through.Next, add a few tablespoons of tomato paste and stir it in. Then add in the red wine and cook off the alcohol. Lastly, I like to add something fresh. I like adding a whole tomato from the can. The canned tomatoes will be soft and have the right texture to add with ease.After a few minutes, the red wine has cooked into the bolognese sauceTSA: Taste - Season - Adjust. Does it need more tomato paste? Salt? Does the color look good? Add in more tomato paste for a deeper color. Cook until the flavor has come together. About 15 minutes on low. Longer if you like. Then, there you go, you have Texas Bolognese Sauce.

Making Homemade Ricotta Cheese
- Using a large pot, add the 8 cups of whole milk, plus the 2 cups of heavy cream. Plus the 2 teaspoons of salt.
- Heating The MilkUsing a candy thermometer, SLOWLY bring the temperature up to 190 degrees. (about 10 minutes). Make sure the milk never gets to a boil. Be mindful of the bottom of the pot, and do not allow the milk to become scorched. Use a spatula to stir and scrape the bottom during the heating.The idea is to be gentle with the protein and fats in the milk. The slow heating process allows the fats and proteins to loosen up. Once an acid is applied to the lemon juice, the coagulation starts.Once 190 degrees is reached, stir in the 2 Tablespoons of lemon juice. Stir to combine. You'll start to see the milk begin to thicken quickly. This is the coagulation process happening.

- Coagulation TimingCover the pot with the heat off and allow it to coagulate for 15+ minutes. A s the acid does the work. The curds and whey will begin to separate. Thick pockets of curds will begin to form. After 15 minutes, pour through cheesecloth. Drain off all of the whey (liquid) from the curds(cheese). Do not allow the curds (cheese) to sit in the whey (liquid) for any amount of time.Once the whey level starts to touch the bottom of the cheesecloth, drain off the whey. Continue until all whey is gone and only the curd is left.
- StorageRefrigerate, wrap in plastic wrap to set up. Before storage is your one chance to shape the ricotta. Fresh ricotta cheese will last one week, plus in the refrigerator. Over the days, the cheese will shrink a very small amount due to the frigid air in the refrigerator, causing dehydration.


Video

Notes
- Pasta Tips: For homemade pasta, roll it thin for optimal crispiness. If using store-bought, choose fresh pasta sheets for better texture.
- Sauce Suggestions: For a richer Bolognese, consider simmering the sauce longer. Adding a touch of sugar can balance the acidity of the tomatoes.
- Cheese Choices: Experiment with different cheeses for the topping. Parmesan or Pecorino can offer a sharper flavor contrast.
- Oil Temperature: Ensure the oil is at the right temperature for frying. Too hot, and the pasta burns; too cool, and it absorbs too much oil.
- Serving Suggestion: Serve the lasagna hot, garnished with fresh herbs like basil or parsley for a burst of color and freshness.
- Storage: Leftover lasagna can be refrigerated and reheated, though it's best enjoyed fresh for maximum crispiness.


Leave a Reply